Over the last few years, I have built up a reputation for being a “hardware freak.” I love cracking open consumer electronics, swapping things out, devices in, and generally maximizing my experience. So of course, I lept at the chance to modify my DualSense Controller. And it’s actually not that difficult!*
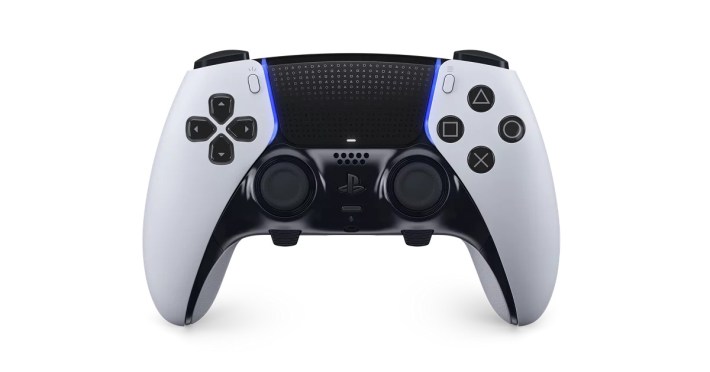
If you own a PlayStation 5, you may be aware of the DualSense Edge, a $200 luxury controller aimed at people with a lot of disposable money or dedication to the PlayStation platform. It's undoubtedly a nice controller with a slew of good features including replaceable sticks for when they inevitably start drifting, changeable stick caps and rear paddles.
There is a lot to like about the DualSense Edge. I love that it has rear paddles, but to be honest this should be a requirement of any controller going forward. Rear paddles radically improve the experience of playing games because they make it so you don't have to move your thumb to the face button to do an action.
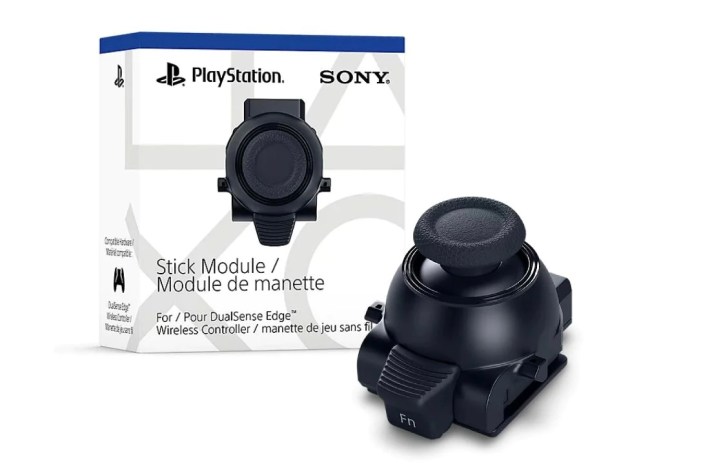
What I really don’t like is that it costs $200 dollars, because I know how much parts cost from China. The replaceable sticks, while novel conceptually, do not actually solve the problem of stick drift, they simply delay the inevitable and give you another thing to buy ($19.99 each) after you already shelled out a lot of money. There is a very simple solution to the problem with stick drift that everyone knows, and that is to use Hall Effect sticks. Hall Effect Joysticks are built to last, because they use magnets. The Sega Saturn and Dreamcast controllers used Hall Effect sticks. Hell, my Gulikit King Kong 2 has them, and it’s a $60 dollar controller. The reason Hall Effect sticks are not used more frequently is because they cost slightly more money, and companies are committed to keeping the Bill of Materials on everything they sell low. Despite offering replacement parts for some of their high end controllers, these companies are not against the idea of planned obsolescence.
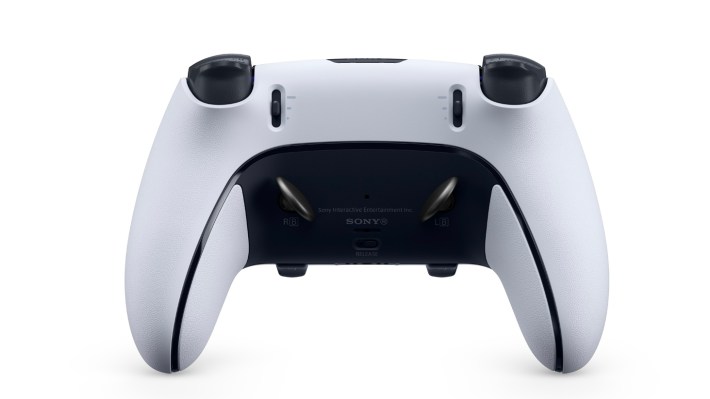
I don’t begrudge anyone for buying a DualSense Edge, but I have a soldering iron and I’m built different. And with a couple of kits, you can take your PS5 controller and do truly heinous stuff to it. But you may ask yourself, why not just buy a new controller?
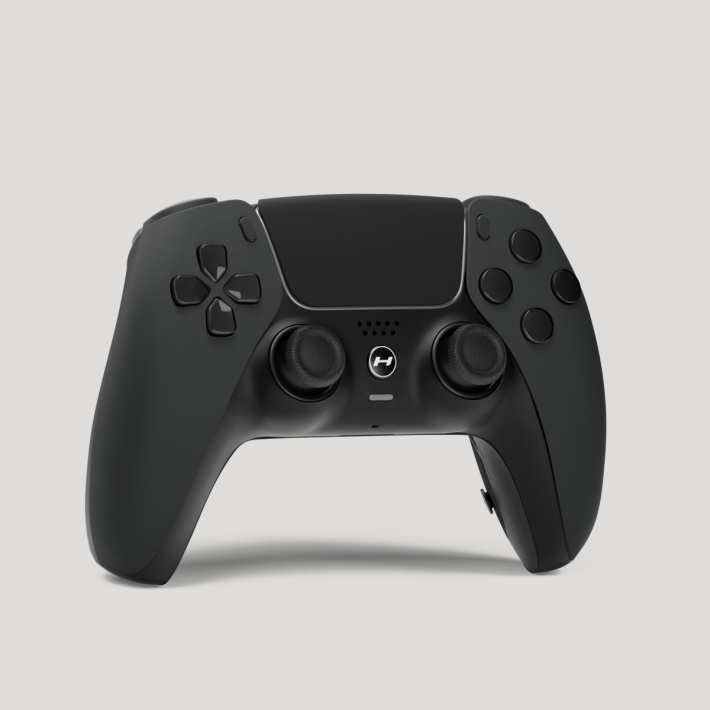
Part of the reason is that Playstation and now Xbox have locked down the controller ecosystem for unauthorized third party controllers. Sony has always done this with the PS5, and Microsoft disappointingly did this in an update fairly recently. There was nothing wrong with XInpunt, it worked perfectly well, and the change messes with everyone who wants to run open source firmware on their controllers, like GP2040-CE. Many of the high-end controllers on the market are just modded DualSense controllers. Controllers from companies like SCUF and HYPR offer high-end, modded controllers, and some are starting to offer Hall Effect sticks! But these controllers also cost around 200 dollars, so it’s not that much better than getting an Edge or an Elite.
I don’t currently have drifting sticks, although it is definitely a possibility in the future (I will get to that below). All I want out of my controller is rear paddles. So I went to the current go-to mod kit for that, ExtremeRate. ExtremeRate has a whole slew of mod kits out there, allowing you to make your controller as hideous or bizarre as you’d like. You can swap out your controller’s shell for a Y2K aesthetic clear purple GBA shell; you can make the controller buttons look like bullets. In terms of functional mods, the primary kits they sell are the rear bumper kit, tactile face buttons, and tactile shoulder triggers. All three involve opening up your controller with some varying degree of soldering. Adding tactile face buttons was appealing, but the microswitches they use are clicky and I could not find a quieter alternative to solder in. The clicky shoulder trigger kit used a variant of mouse microswitch, but in order to install that you need to disable the adaptive trigger feature, which I enjoy a lot, either by severing the motor or disabling it on the PS5. Those are mainly mods for guys who just play Call of Duty.
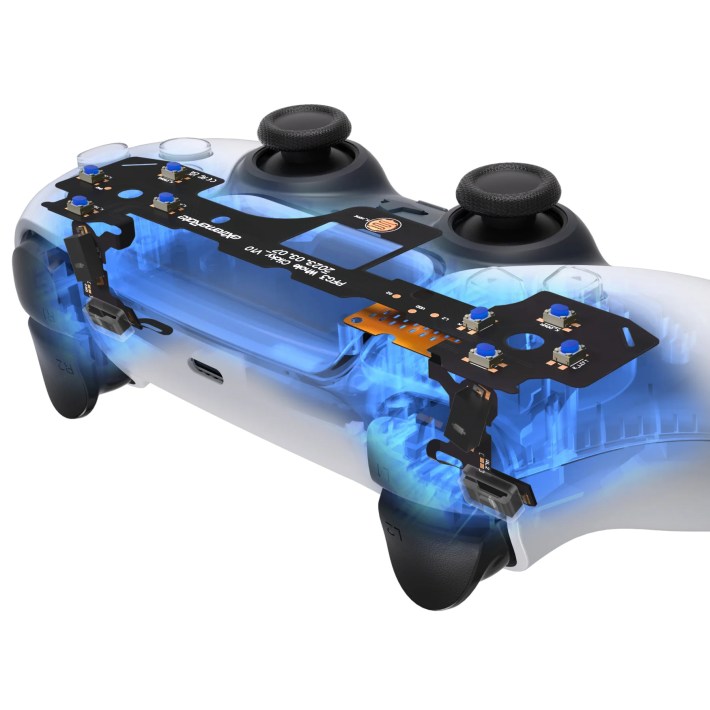
This leaves the bumper mod, called the Rise. There are 2 and 4 button variants, in both plastic and metal. I went with the Rise 4.0 RMB (Rear Metal Buttons), because why would I go with plastic when metal is an option? Installing the mod requires you to put a new back shell in, and instead of going whole hog and replacing the entire shell I decided to keep as much of the controller stock as possible, choosing the same color but with a rubberized grip on the bottom to make it easier to hold in intense gaming moments. I recognize this veers my controller into the “ugly” territory, but outside of this blog nobody is going to see it, so who cares?
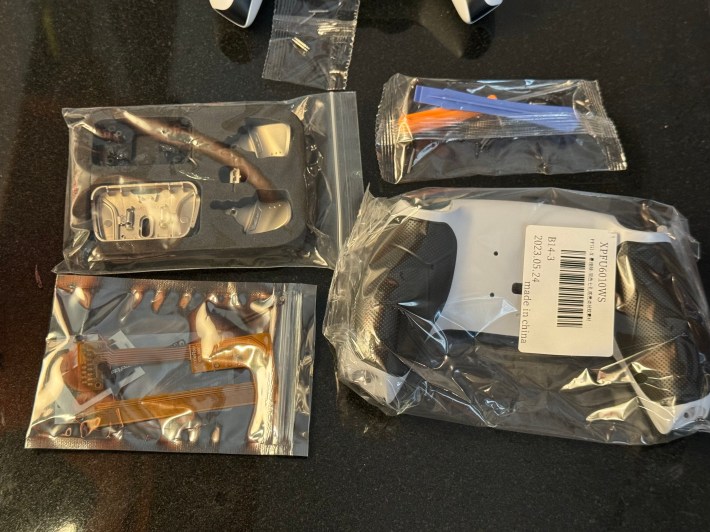
You can order these kits on Amazon, Aliexpress or directly from ExtremeRate themselves. The kit comes in an unadorned box with a little manual, several small tools including a prying tool, tiny cheap screwdriver and several extra screws if you screw the process up. Which kit you buy is dependent on your current model of PS5 controller, labeled BDM-010, BDM-020 or BDM-030. This can normally be discerned without opening up the controller, based on looking under the trigger, but the model number also appears on the controller’s PCB once you open it up.
As far as DIY projects go, this is one of the more approachable ones. ExtremeRate does a fairly good job at showing exactly how to install their kits on their YouTube channel, giving you blow by blow of what to expect. As with most hardware hacks, having a clean working surface along with several organized places for screws is going to be handy, as is a soldering iron depending on how you want to approach the mod. If you are content with mapping your rear paddles to the face buttons and shoulder buttons, you do not need a soldering iron and many steps along the way can be skipped. If, on the other hand, you want to map your rear bumpers to either of the analog stick clicks or the touchpad button, light soldering is required. At most you are going to be dealing with 4 solder points, so this is some of the easiest soldering you can do.
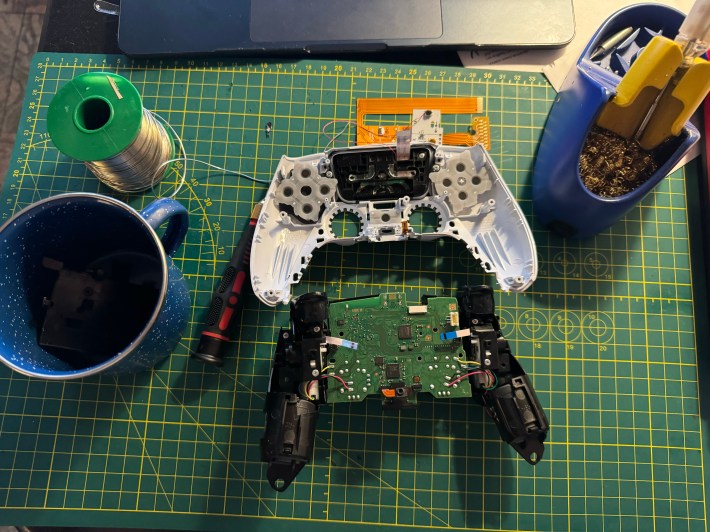
What you realize when you crack open a DualSense is how much stuff they jammed in there. The DualSense has multiple mics, a few motors for keeping stuff together and a speaker integrated into the PCB. There is a very specific way to put it all back together, and if you have to watch out for one piece more than anything, make sure it is the mics. The mics on the DualSense are finicky, attached by ribbon cables, and must be treated with the utmost care. I am gonna be honest, those things suck to work with.
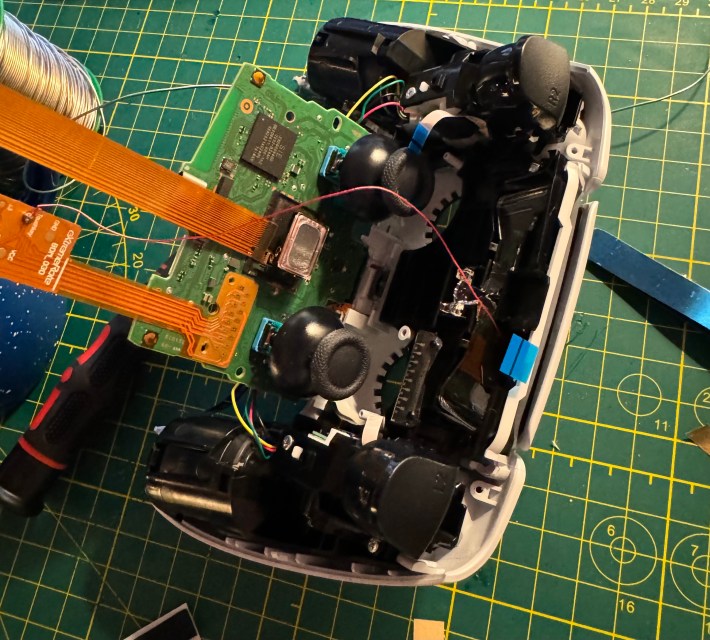
Pulling this kit off is not difficult*, but I say that as someone who regularly makes keyboards from scratch so maybe I am not a trustworthy narrator. If you can handle an advanced Lego kit you could probably do the basic version of this with only a little trouble. You simply disassemble it, unplug the ribbon cables when you need to, keep all your parts in the appropriate areas, add your mods in there, and then put it all back together with a new shell, threading a flexible PCB into the weirdly alien-looking rear paddle array. If everything goes off without a hitch, you should be able to check using an LED light at the top of the weird alien fin you have now affixed to your game controller.
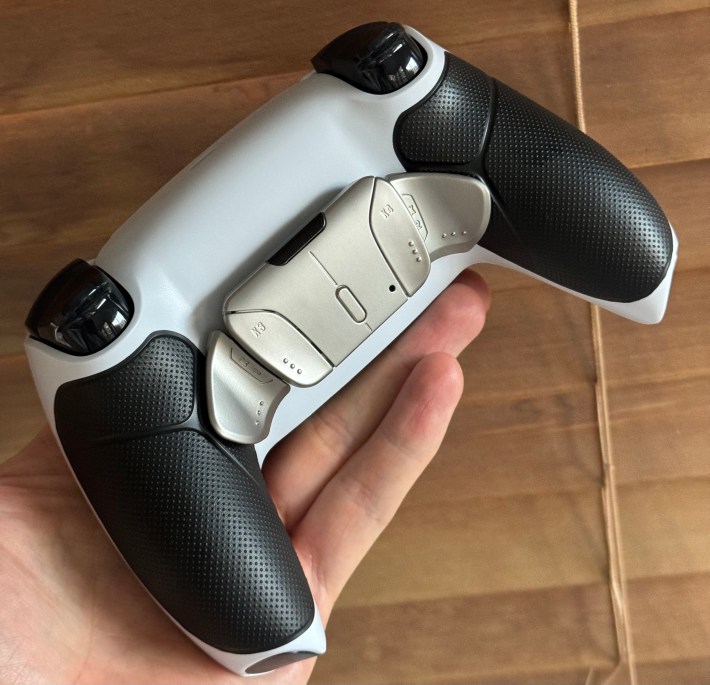
The remapping is seamless. You hold the remap button and hold the rear bumper button to the one you wish to map it to. No going into the menu, it is all done by the little board inside the rear bumper. The plastic feels good in the hand, the metal is cheap but not flimsy and has the solid click of a tactile button. For the price, not a bad kit!
While I generally prefer open source DIY mods, the nature of adding something like this to an existing controller necessitates a third party, And they did a pretty solid job! But I am not content to settle on adding an ugly fin and some grippy rubber to my controller. I know those sticks are going to die one day. It may be in a month, it may be in years, but they will start drifting. So I have made preparations.
Remember those Hall Effect sticks I was talking about? Well, people have been trying to find reliable replacements that work for the DualSense for a while, and it appears as if a manufacturer out of China has made an easy* to solder drop in replacement. The sticks sell on Aliexpress for about 20 bucks, and the only documentation appears to be a single YouTube video, because they are being made by a single guy. I have ordered them, but because it is both A) just one guy and B) being sold on Aliexpress, I will probably receive them some time around February, just in time for my controller to die and for me to make another hardware pervert blog.
Anyway, I highly recommend adding a freakish fin to the back of your controller for $40-$50 instead of flushing half the cost of a PS5 down the toilet for a controller that will break just as quickly, or on a custom controller made by a different hardware freak.
*Individual definitions of “difficult” and “easy” may vary.


